
LASERBEE AX 3.0 WATT LASER POWER METER
LaserBee AX 3.0 Watt Laser Power Meter w/Thermopile, retail CA$192.36 (US$139.99) (www.laserbeelpm.com...)*
Manufactured by J. Bauer Electronics (www.laserbeelpm.com)
Last updated 04-08-20
* IMPORTANT: Pricing is accurate as of 03-11-20. Please visit the Currency Calculator for the latest currency conversion rates from Canadian dollars to US dollars.

This product does not emit light of its own (much like this spectrometer, this one, and this laser power meter), so the standard review format will not be used and the product will be assigned a rating at once. A very high rating too, as during the (admittedly short thus far) time I've had it, it has thus far performed flawlessly. 
The LaserBee AX 3.0 Watt (3,000mW) Laser Power Meter was designed to enable the hobbyist technician to test higher power lasers and laser diodes. It was designed for people like ourselves that needed to know the output power of the numerous lasers we had in the shop.
It needed to check a wide range of lasers up to 3100mW.
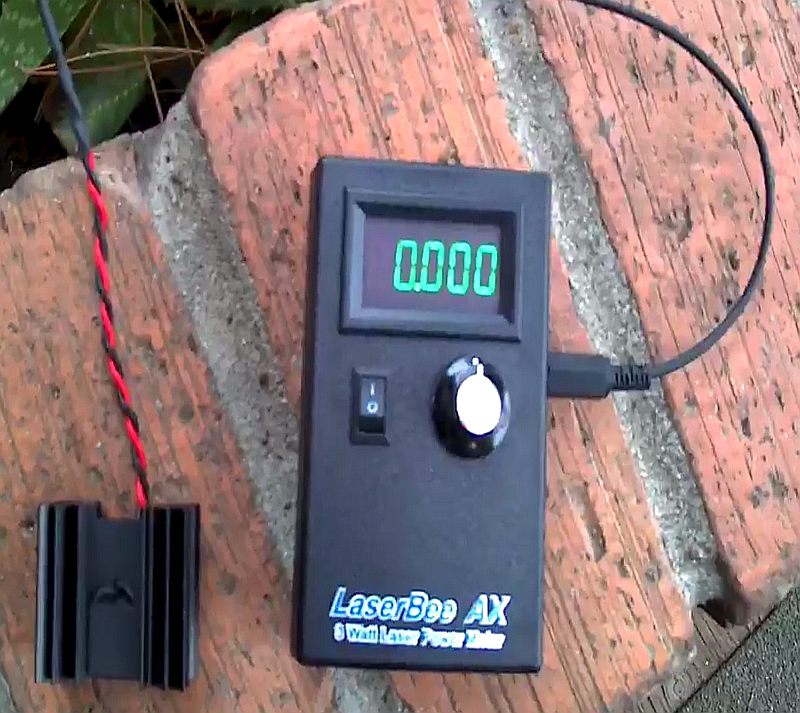
The LaserBee AX 3.0 Watt Laser Power Meter uses a thermopile sensor and microcontroller electronics that are pre-calibrated against a Newport Model 1825-C LPM using a Newport 818T-10 thermopile sensor head. The output of the LaserBee AX 3.0 Watt (3,000mW) Laser Power Meter is shown on its inbuilt LED display.
The readings of the LaserBee AX 3.0 Watt (3,000mW) Laser Power Meter starts at 1mW and go to 3,100mW (3.10 watts).
For consistent readings, make sure that all measurements are taken at the same distance between the sensor and the laser being tested. (3"� {7.60cm} to 1 foot� {30.50cm}) and that the entire laser beam falls on the sensor of the LaserBee AX 3.0 Watt (3,000mW) Laser Power Meter.
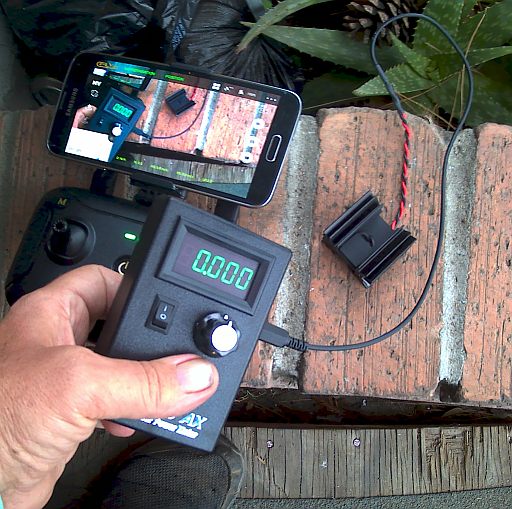
The instrument itself is totally self-contained; you need not be near a computer to measure your laser.
 SIZE:
SIZE:
The LaserBee AX 3.0 Watt LPM is very easy to use. Attach the Thermopile Sensor cable to the LaserBeeAX 3.0W enclosure.
To take a measurement, just follow these simple instructions:
Turn the unit on using the rocker switch on the upper surface of the unit. The four-digit green LED display should immediately blaze to life.
Turn the knob in either direction until the display reads 0.000
Irradiate the flat black square on the sensor head wih the laser that you're measuring. Keep the beam on the sensor until the reading on the display stops increasing; this can take 40 seconds or longer.
You may read the power output value in watts directly off the display -- no conversion is necessary.
You may not take another reading before the on screen display drops to zero. This is to allow the thermopile sensor to cool to ambient temperature so that the next reading will be as accurate as your last one.
It is very important NOT to collimate the laser beam to a pin point as this will damage the Thermopile coating using higher powered lasers!!!
It is also important to note that the entire laser beam should fall on the sensor and the laser's beam should be adjusted accordingly (an acceptable/usable beam diameter would be 3.0mm to 7.0mm; the larger, the better).
Turn the unit off with the same rocker switch that you turned it on with.

To change the battery in your spiffy new LaserBee AX 3.0 Watt LPM, turn the unit upside-down, slide the battery door off, carry it to a bridge over deep water (the Juneau-Douglas bridge is preferable, but the Golden Gate Bridge in San Fransisco will do in a pinch), and lob it over the side so that it goes blub blub blub all the way to the bottom of Gastineau Channel to share space with all of the bowling balls that were tossed over that bridge in the 1950s and 1960s...O WAIT!!! YOU'LL NEED THAT!!! So just set it aside instead. 
Unclip and remove the dead battery (and yes, it is a BATTERY and not a CELL) and dispose of or recycle it as you see fit.
Snap a new 9 volt transistor radio battery onto the snap, orienting it so that the large terminal on the battery fits onto the small terminal on the snap, and "vicey versey".
Place the battery back into the chamber, and slide the battery door back on.
Aren't you glad that you didn't chuck that battery door over the side of a bridge now?

This is what the Juneau-Douglas Bridge looks like...or what it lookED like anyway before it was replaced in 1976.

And this is what the bridge looks like now.
Current usage measures 10.36mA with its display showing all zeros.
Measured on my DMM's 20mA scale.

This is a self-contained laser power meter, and not a flashlight meant to be carried around, thrashed, trashed, and abused - so I won't try to drown it in the toliet tank, bash it against a steel rod or against a concrete porch, let my mother's big dog's ghost or my sister's kitty cats piddle (uranate) on it, run over it with a 450lb Celebrity motorised wheelchair, stomp on it, use a small or medium ball peen hammer in order to bash it open to check it for candiosity, fire it from the canno�ata, drop it down the top of Mt. Erupto (I guess I've been watching the TV program "Viva Pi�ata" too much again - candiosity is usually checked with a laser-type device on a platform with a large readout (located at Pi�ata Central {aka. "Party Central"}), with a handheld wand that Langston Lickatoad uses, or with a pack-of-cards-sized device that Fergy Fudgehog uses; the canno�ata (also located at Pi�ata Central) is only used to shoot pi�atas to pi�ata parties away from picturesque Pi�ata Island, and Mt. Erupto is an active volcano on Pi�ata Island), send it to the Daystrom Institute for additional analysis, or perform other indecencies on it that a flashlight might have to have performed on it. So this section of the web page will be ***SIGNIFICANTLY*** more bare than this section of the web page on a page about a flashlight.
The active sensor area is 15mm x 15mm (225 square mm), and the length of the sensor cable is 18.0" (457.20mm).
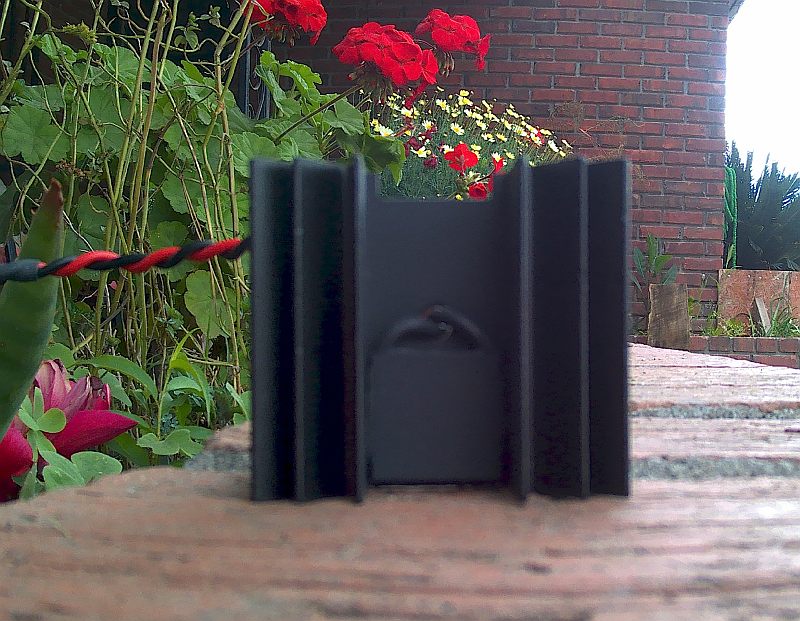
Photograph showing the thermopile sensor.
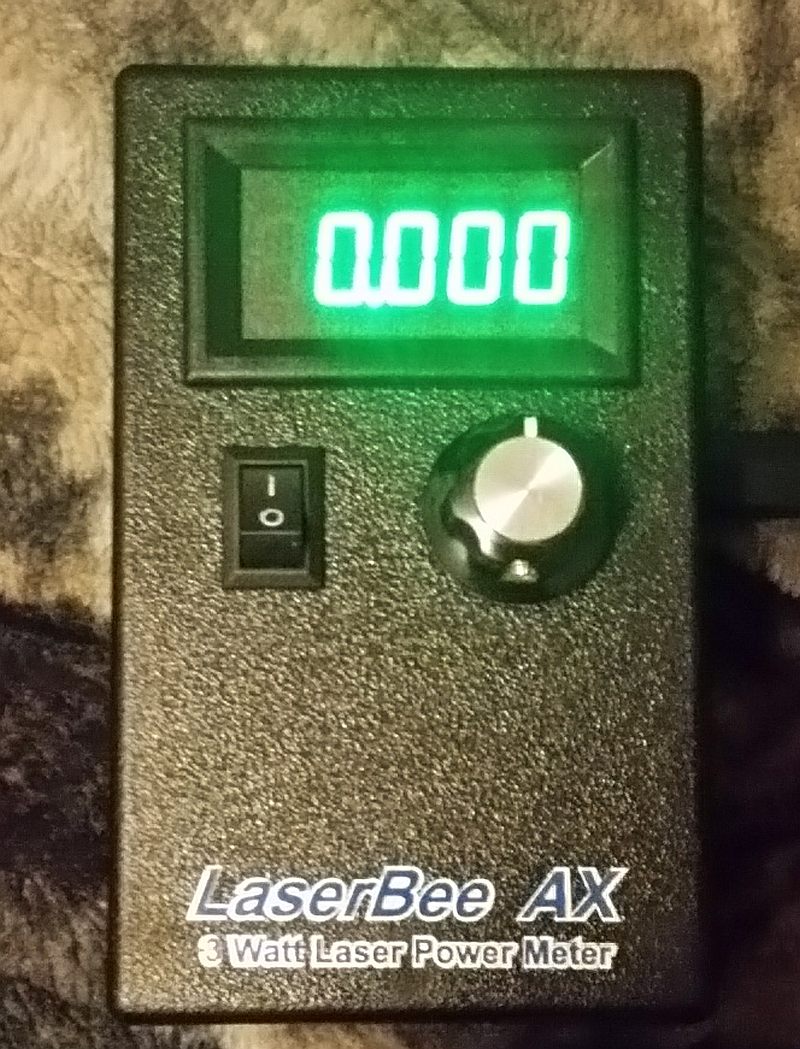
Photograph showing the green LED display.
Spectrographic analysis of the LED display in this LPM.
Spectrographic analysis of the LED display in this LPM; spectrometer's response narrowed to a band between 505nm and 530nm to pinpoint emission peak wavelength, which is 518.910nm.
The raw spectrometer data (tab-delimited that can be loaded into Excel) is at laserbax.txt
USB2000 Spectrometer graciously donated by P.L.
TEST NOTES:
Test unit was purchased on the LaserBee website on 03-01-20; and was received on the afternoon of 03-09-20.
Now that I own one of these fine instruments, I have permission to publish this graphic:

UPDATE:00-00-00
PROS:
Easy to set up (so easy, a caveman could do it!)
Can measure power output of those pesky Class IIIb and Class IV lasers that are too powerful for other LPMs -- up to 3.10 watts anyway
NEUTRAL:
CONS:
Nothing that I've found thus far

MANUFACTURER: J. Bauer Electronics
PRODUCT TYPE: Self-contained laser power meter
LAMP TYPE: 7-segment green LED display
No. OF LAMPS: Four digits plus decimal point
BEAM TYPE: N/A
SWITCH TYPE: Rocker switch on/off
CASE MATERIAL: Plastic
BEZEL: N/A
BATTERY: 9 volt transistor radio battery
CURRENT CONSUMPTION: Advertised as 30mA measured at 10.36mA with display showing all zeros)
WATER- AND URANATION-RESISTANT: No
SUBMERSIBLE: NO WAY HOZAY!!! 
ACCESSORIES: None
SIZE: 4.00" L x 2.50" W x 1.50" H (instrument itself); 1.65" L x 1.50" W x 1.00" H (sensor head)
WEIGHT: 44g (1.550 oz.) {sensor},158g (5.540 oz) {controller}
COUNTRY OF MANUFACTURE: Unknown/not stated; but very likely Canada
WARRANTY: Unknown/not stated
PRODUCT RATING:

LaserBee AX 3.0 Watt Laser Power Meter w/Thermopile * http://www.laserbeelpm.com...
Do you manufacture or sell an LED flashlight, task light, utility light, or module of some kind?
Want to see it tested by a real person, under real working conditions? Do you then want to see how your light did? If you have a sample available for this type of
real-world, real-time testing, please contact me at bdf1111@yahoo.com.
Please visit this web page for contact information.
Unsolicited flashlights, LEDs, and other products appearing in the mail are welcome, and it will automatically be assumed that you sent it in order to have it tested and evaluated for this site.
Be sure to include contact info or your company website's URL so visitors here will know where to purchase your product.
This page is a frame from a website.
If you arrived on this page through an outside link,you can get the "full meal deal" by clicking here.